Booting Turris Omnia from mSATA SSD⚓︎
Warning
This guide is only for Omnia 2019 or newer. For older series, please install the turris-nor-updatepackage and run the nor-update command from CLI or update your NOR via Serial cable.
Hardware installation⚓︎
- Ensure that your Omnia isn’t plugged to the power supply.
- Move the PCIe cards one position to the SIM card slot.
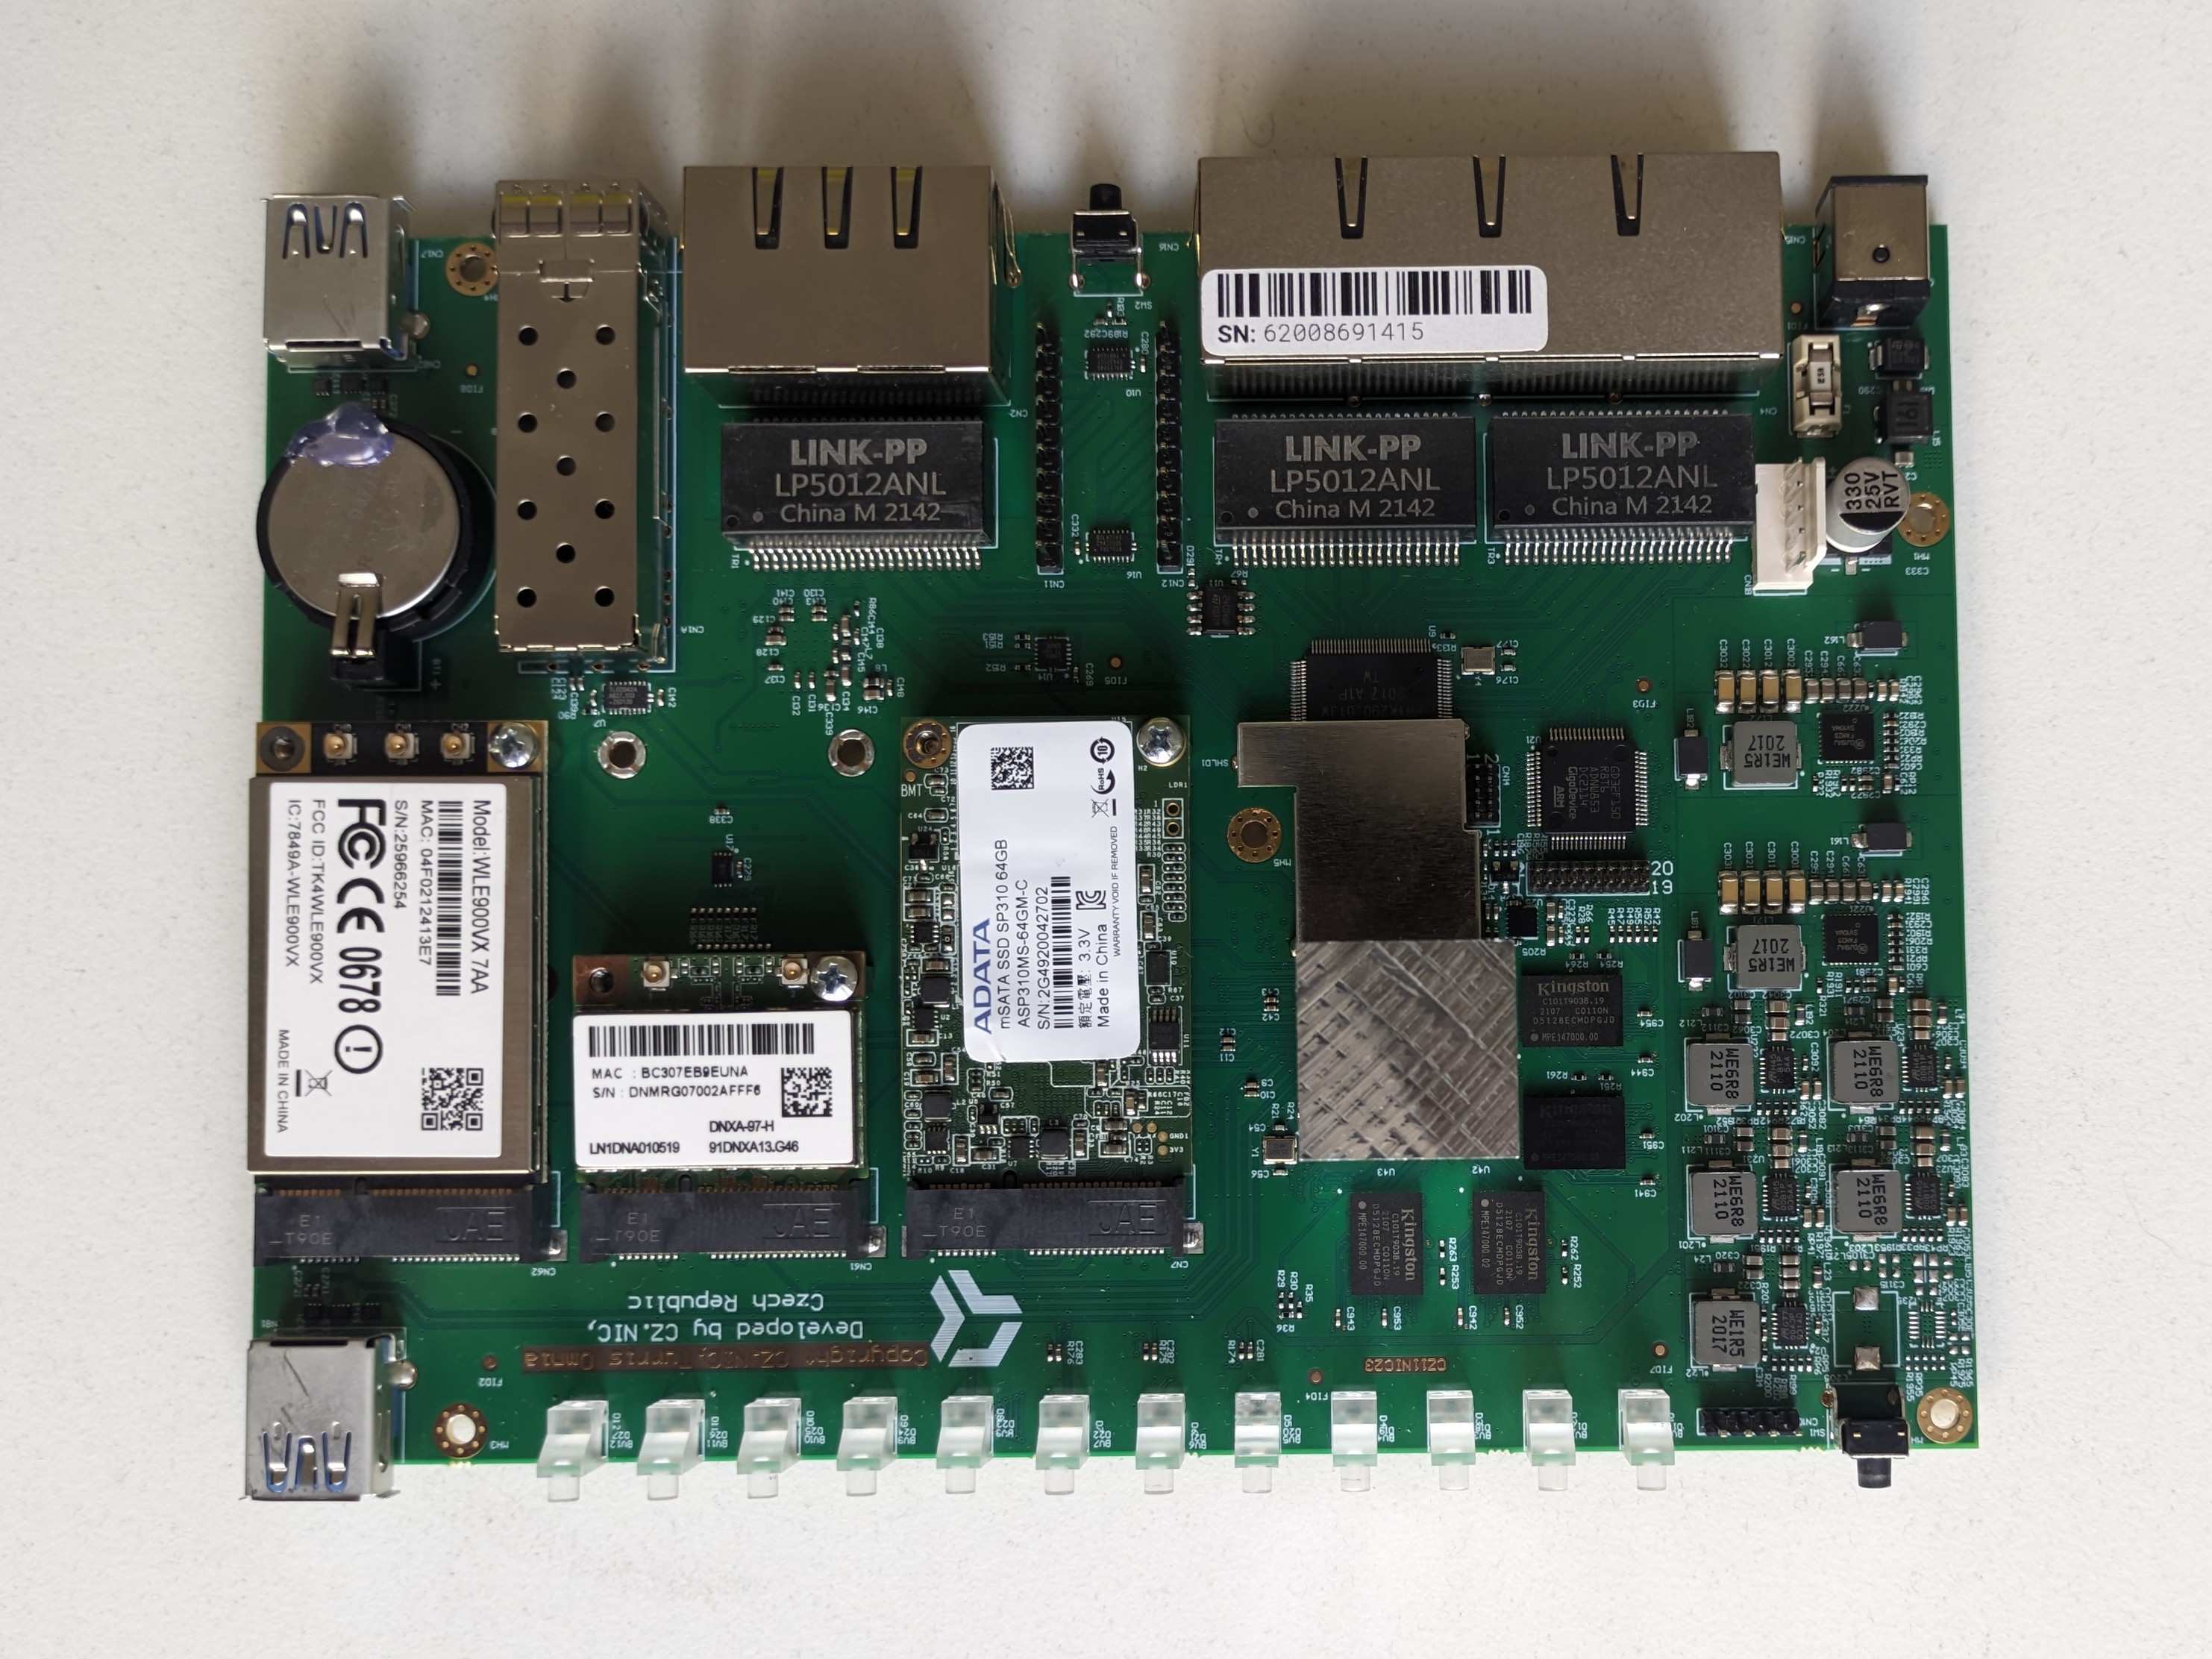
- Insert your mSATA SSD to the remaining slot (the one which is close to the heatsink (CPU)) as is the only one, which supports also mSATA interface together with mini PCIe.
Tip
Because it’s a complex operation (which includes many steps) you can utilize our video guide:
Device detection⚓︎
- Plug your Omnia to the power supply.
- Connect to the router via SSH and log in.
- Check whether the new SSD can be detected:
ls /dev/sd*It should display/dev/sda.
Notice
If the SSD has been already partitioned you can see those partitions too.
Preparation of SSD⚓︎
-
Backup the current filesystem by creating and exporting a snapshot. See the Schnapps documentation page.
schnapps export -c /tmp/backup.tar.gzNote
If you no longer can access your eMMC or you want to start fresh, you can use the medkit instead of a backup of your eMMC.
-
Find out the size of the system partition (e.g. via
df; the partition is namedmmcblk0p1). - Install
cfdiskif not yet installed:opkg update && opkg install cfdisk - Run
cfdisknow:cfdisk /dev/sda - If no partition table exists, it asks for a new one (partition table
GPTordosis recommended). - Delete all old partitions (if any).
- Create a new primary partition. Its size must be at least the same as the original (eMMC) partition has (see above). Mark this partition as bootable.
- Write the changes by
Writeand leavecfdiskbyQuit. - Create a filesystem on the new partition:
mkfs.btrfs /dev/sda1 - Create a mount point a mount the partition on it:
mkdir -p /mnt/ssd && mount /dev/sda1 /mnt/ssd - Create a Btrfs subvolume for the root directory:
btrfs subvolume create /mnt/ssd/@ -
Unpack the backup created in step (1) into the new subvolume:
For example:
Where you need to replacetar -C /mnt/ssd/@ -xvzf /tmp/backup.tar.gzbackup.tar.gzwith the actual name of your backup.Or if you want to start from scratch:
wget -O - https://repo.turris.cz/hbs/medkit/omnia-medkit-latest.tar.gz | tar -C /mnt/ssd/@ -xvzf - -
Create a symlink to the boot.scr file:
cd /mnt/ssd && ln -s @/boot/boot.scr . - Leave the directory and unmount the drive
cd && umount /mnt/ssd
Updating U-Boot to boot from SSD⚓︎
To boot from SSD prepared in previous step, you need to modify the U-Boot environment.
- Connect to your router via a serial cable.
- Reboot your the router and immediately press Enter repeatedly until the U-Boot prompt “=>” appears.
- Run
printenvto check how the environment variables are set. Its output should look like:boot_targets=mmc0 scsi0 usb0 pxe dhcp - Set the variables to their new values for the next boot:
setenv boot_targets scsi0 mmc0 usb0 pxe dhcp - Try to boot using the new values:
run distro_bootcmd - After booting, run the
mountcommand to display what is actually mounted. It should look like:/dev/sda1 on / type btrfs (rw,noatime,ssd,space_cache,commit=5,subvolid=257,subvol=/@) - If it is OK you can repeat the step 4 and then write the environment values permanently by running
saveenv - Reboot your router by
run distro_bootcmd
Info
The boot_prefixes variable specifies where to search for the boot directory (which is located on the @ subvolume now) whereas boot_targets defines the boot sequence (scsi0 means the first virtual SCSI device which is presented by the SSD here).
Creating factory image⚓︎
The last thing to do is to create a factory image so you have something to return to if you run into troubles. Starting from Turris OS 6.3.3, schnapps has a command to do that.
You just need to run schnapps update-factory and after it finishes, you can use the Factory reset button in reForis and the schnapps rollback factory command.
Caution
You should avoid using the LuCI mount plugin as it tries to unmount all external drives including your SSD and that would break your system till the reset. Also, there is a possibility that at some point we will update U-Boot and its environment in one of our future releases. This might override your setup and you would need to repeat the above steps to configure U-Boot again. Additionally, the most of the recovery options using the reset button will not work - reverting to the previous snapshot or factory reset. You can still manage your snapshots manually using schnapps if you set it up correctly.
Credits⚓︎
This guide utilizes instructions originally written by drhm on our forum.